Creating Your First AI Employee with Kafka
This quickstart will walk you through creating your first AI Employee using Kafka’s core features. By the end, you’ll understand how to set up Workflows, Playbooks, Integrations, and Tools to power your employee.Step 1: Choose Your AI Employee Template
AI Executive Assistant
AI Executive Assistant
An AI Employee that manages your inbox, calendar, and communications.You’ll learn to build:
- Daily email summary with phone call workflow (9am trigger)
- Professional email formatting playbook
- Gmail and Google Calendar integrations
AI Recruiter
AI Recruiter
An AI Employee that finds candidates and tracks your recruiting pipeline.You’ll learn to build:
- Daily candidate outreach workflow (10am trigger)
- Recruiting pipeline update playbook
- Apollo and Greenhouse integrations
AI Project Manager
AI Project Manager
An AI Employee that syncs tasks and coordinates team work.You’ll learn to build:
- Daily Slack-to-task sync workflow (5pm trigger)
- Add task to ClickUp playbook
- Slack and ClickUp/Linear integrations
Step 2: Open Your Employee Home Page
Navigate to your Kafka Employee Home Page. This is your control center for building, customizing, and managing your AI Employee.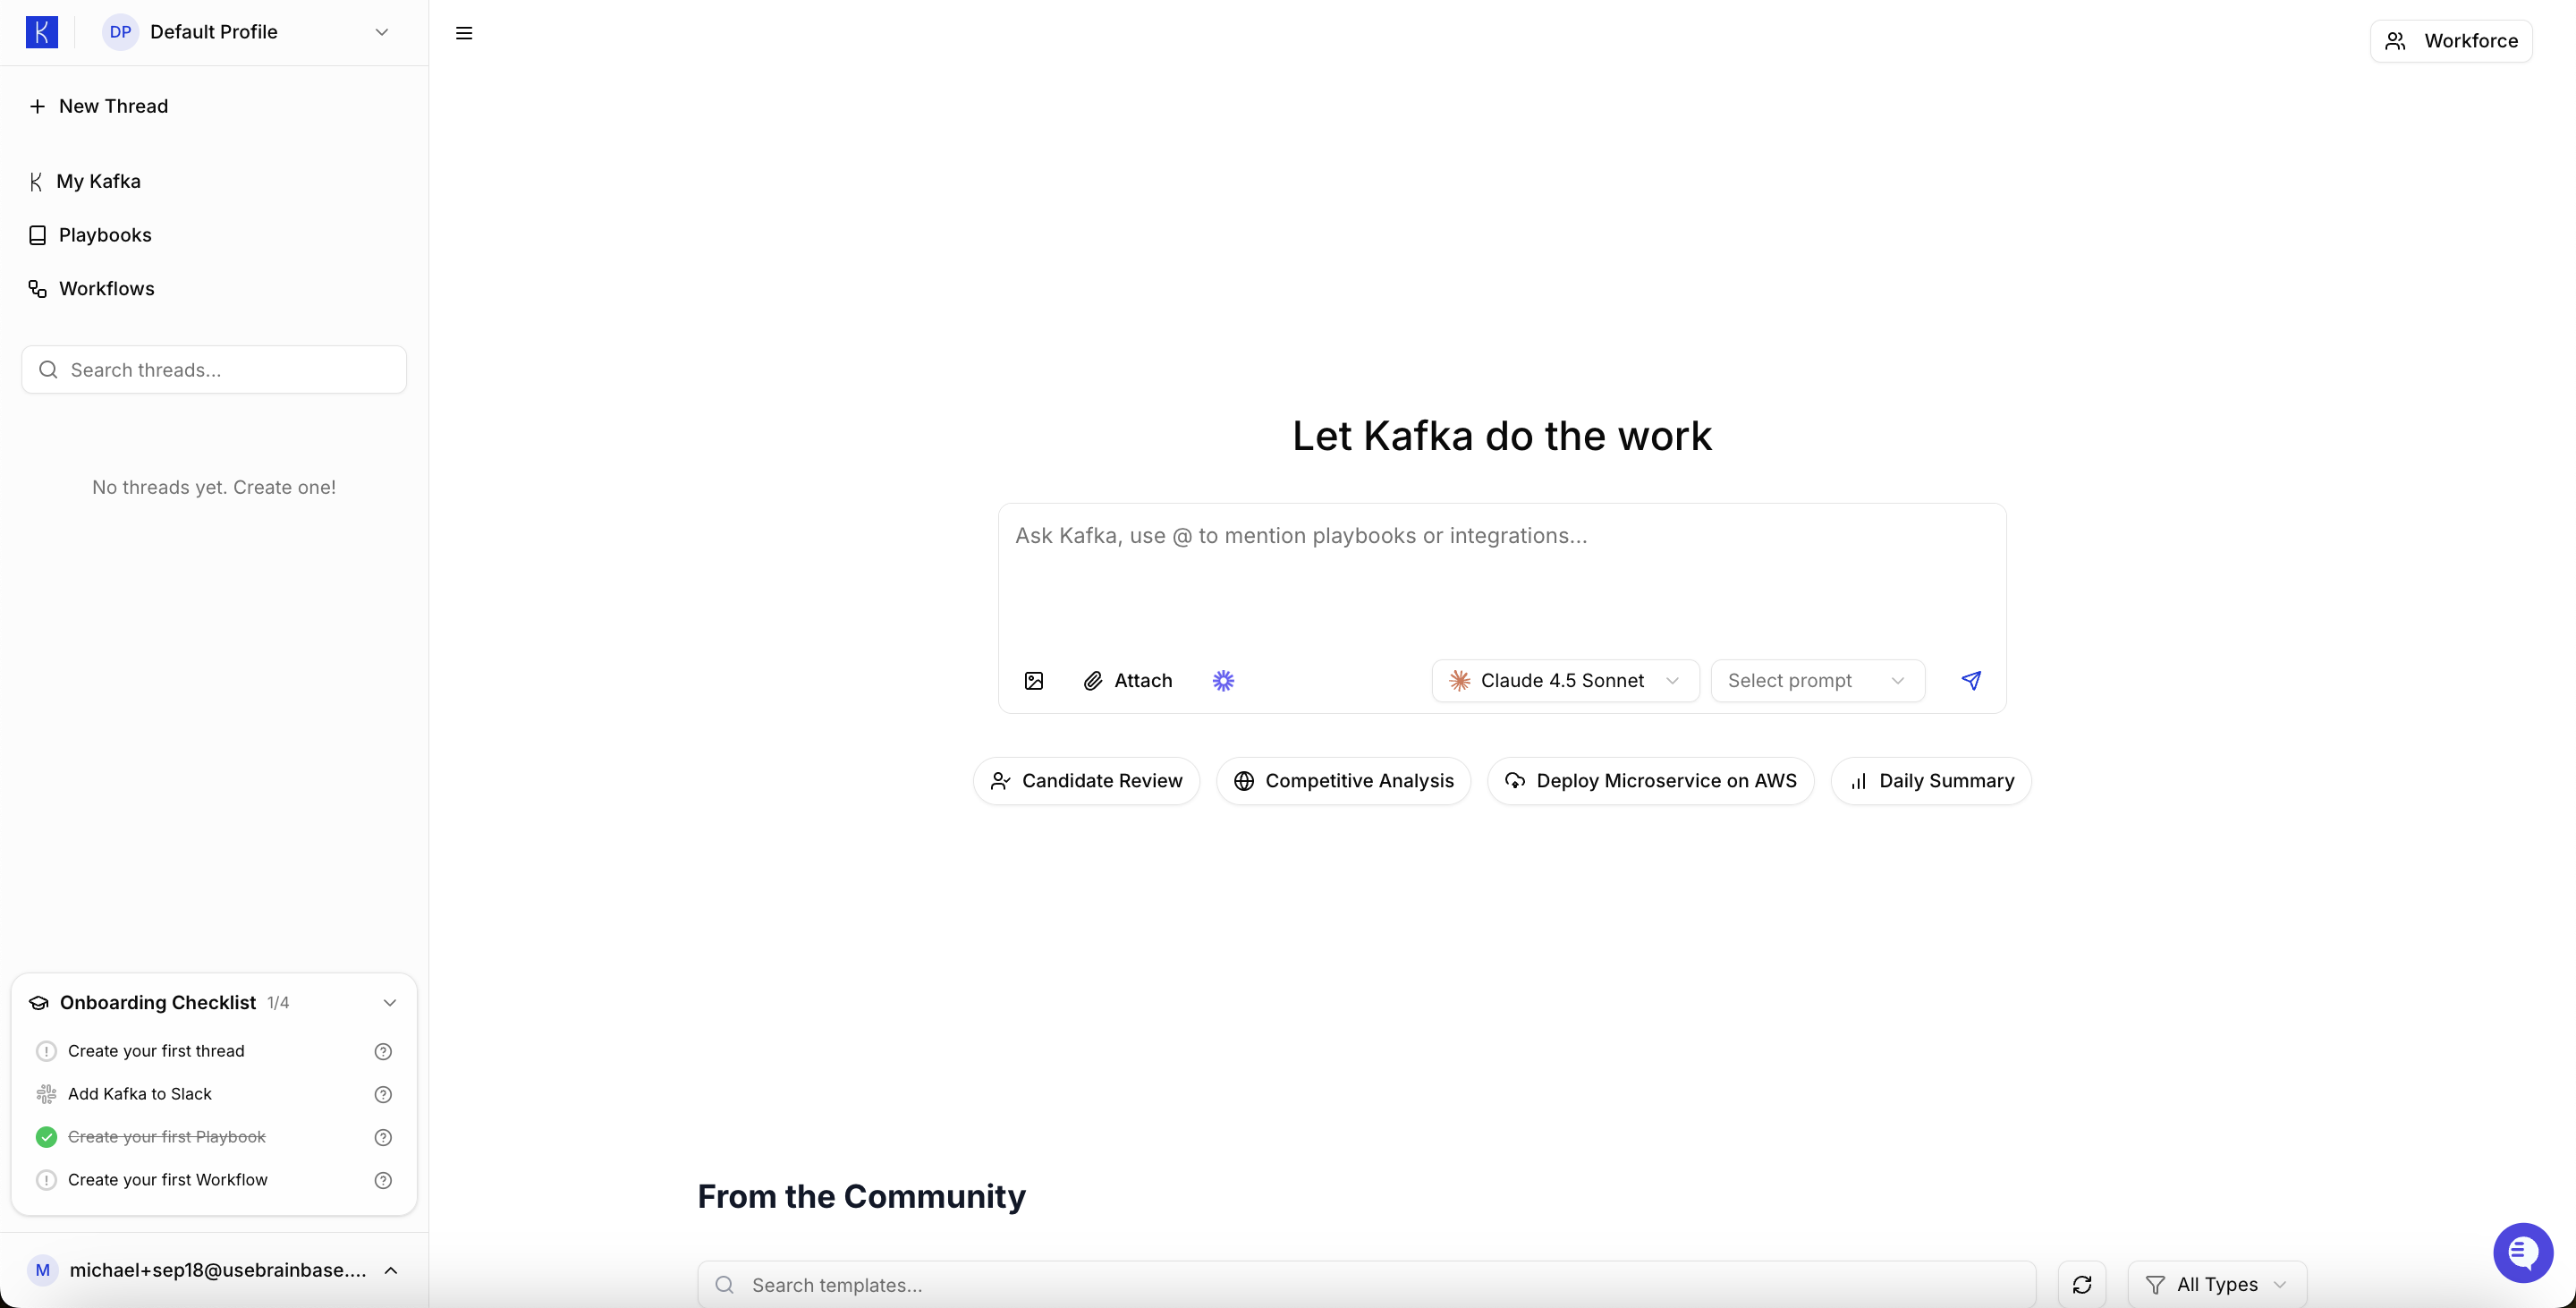
Step 3: Define Kafka’s Role with Global Instructions
The Global Instructions are where you set your AI Employee’s personality, boundaries, and always-on knowledge. Go to: My Kafka → Global Instructions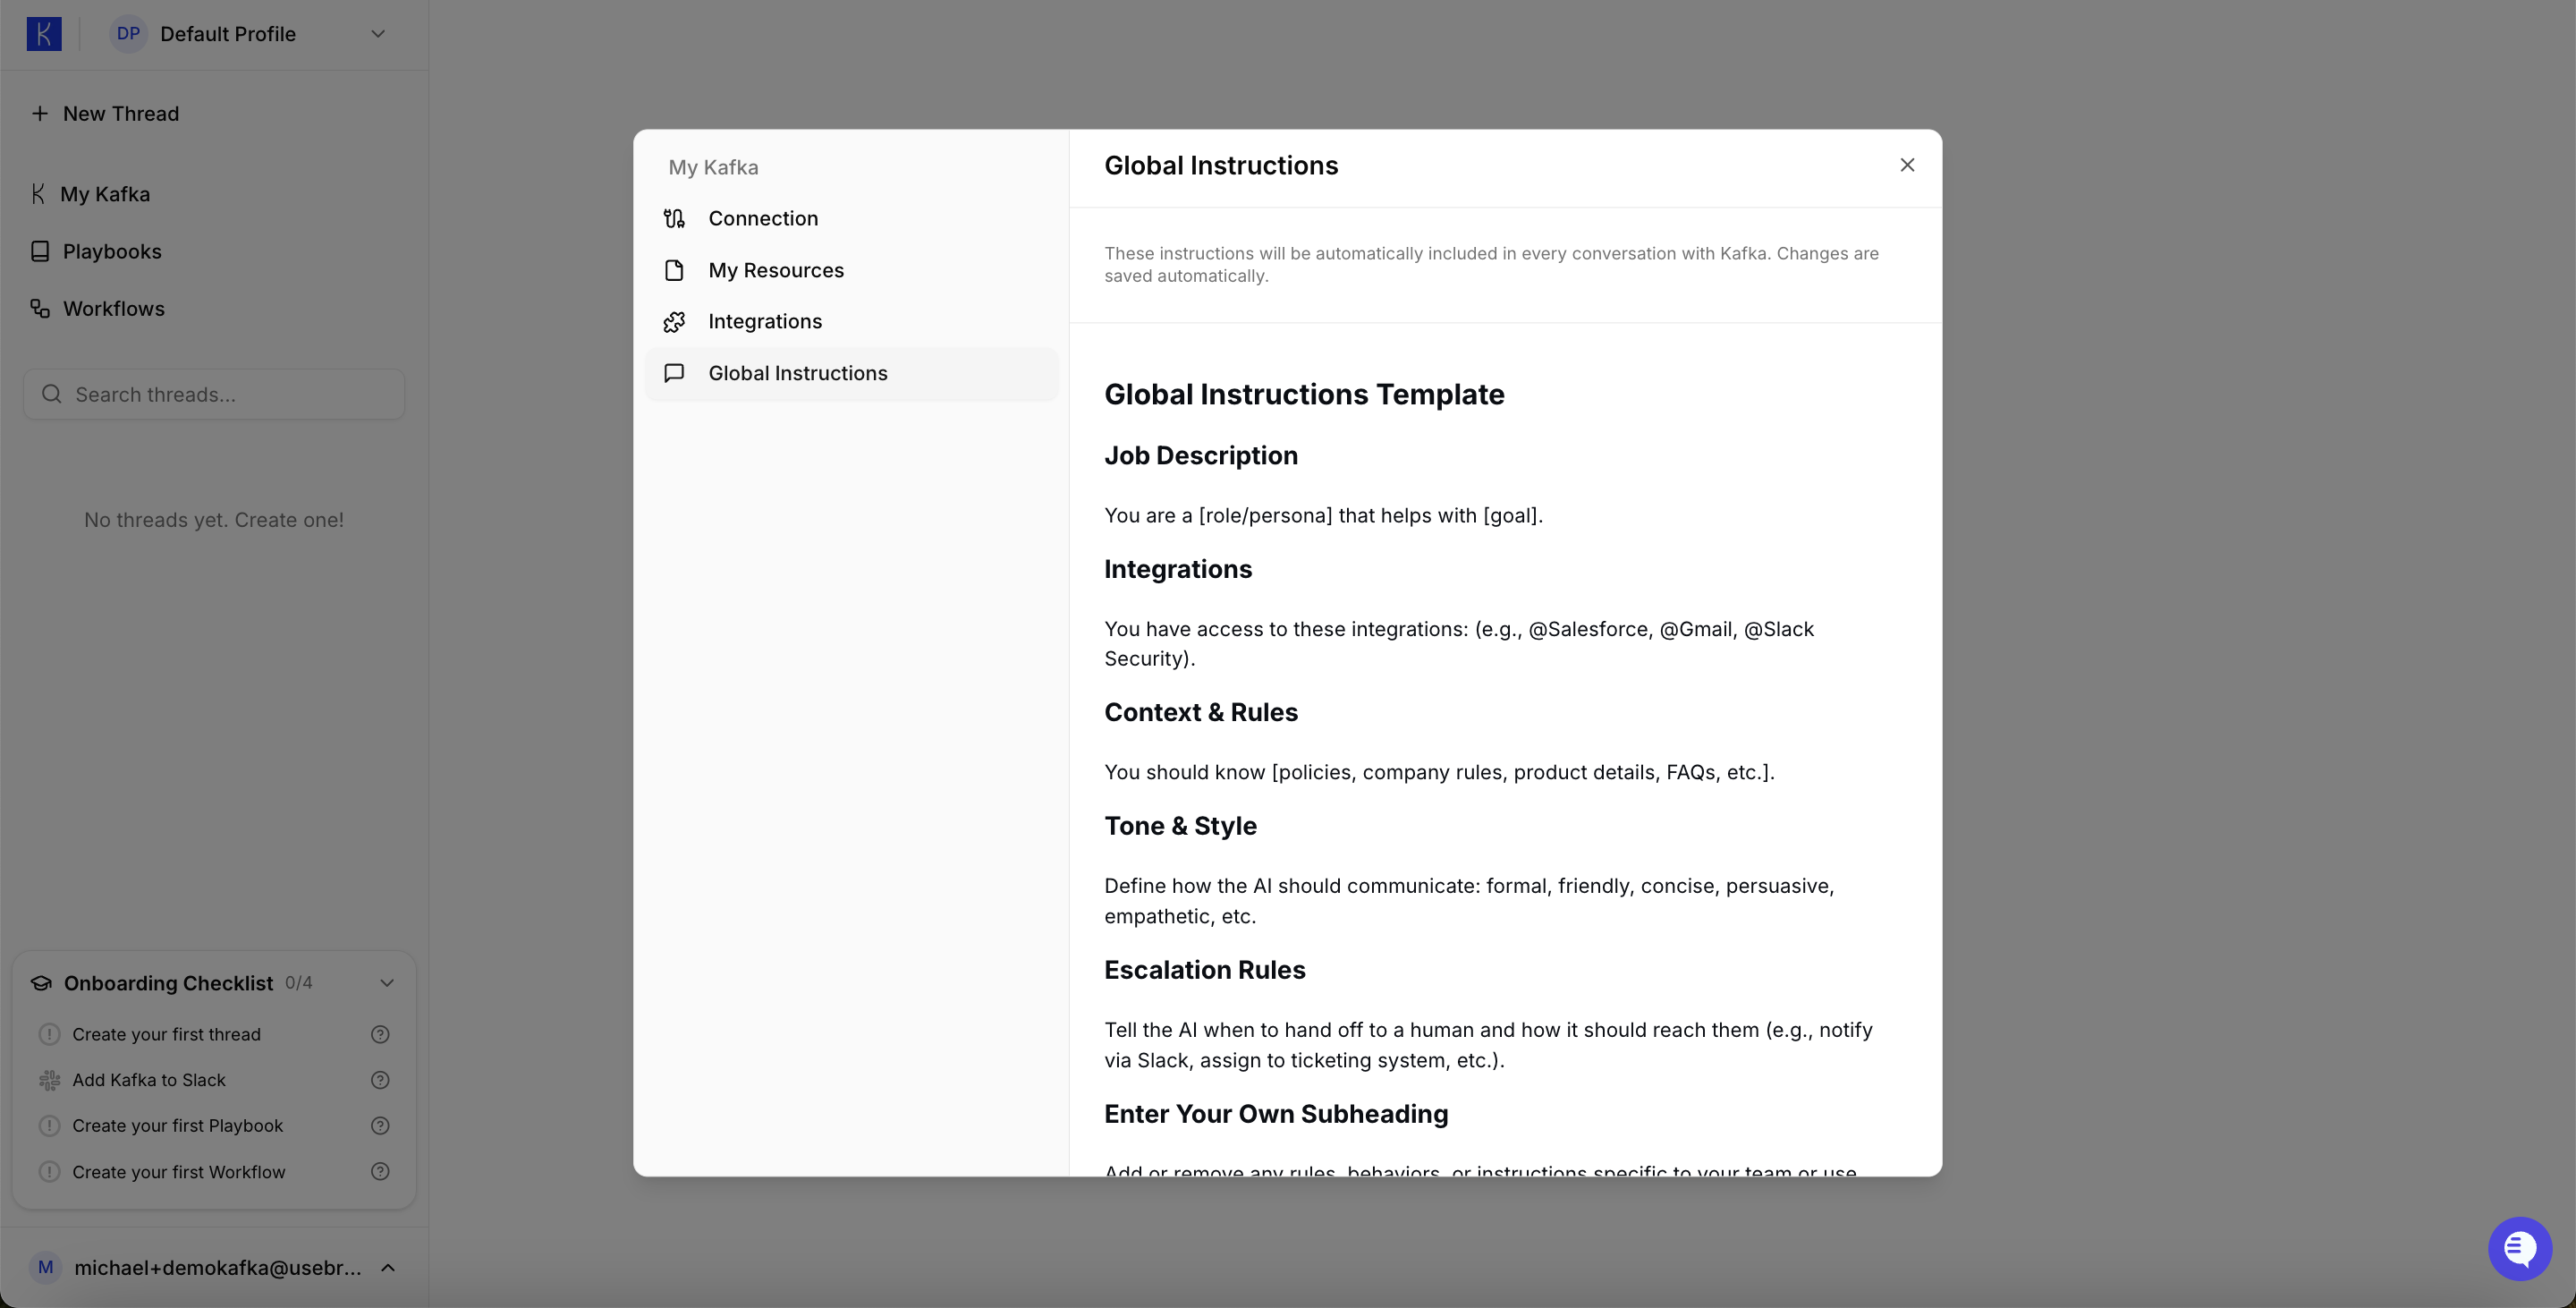
- Executive Assistant
- Recruiter
- Project Manager
Step 4: Add Integrations
- Go to: My Kafka → Integrations
- Connect Google Calendar

- Executive Assistant
- Recruiter
- Project Manager
- Gmail — for email scanning and management
- Google Calendar — for scheduling and meeting coordination
@[integration] to reference integrations from within workflows and playbooks.
Step 5: Deploy to Slack (Optional)
Connect Kafka to Slack so your team can interact with your AI Employee directly in your workspace.Note: Deploying to Slack requires upgrading to the $25 Starter plan.Go to: My Kafka → Connection
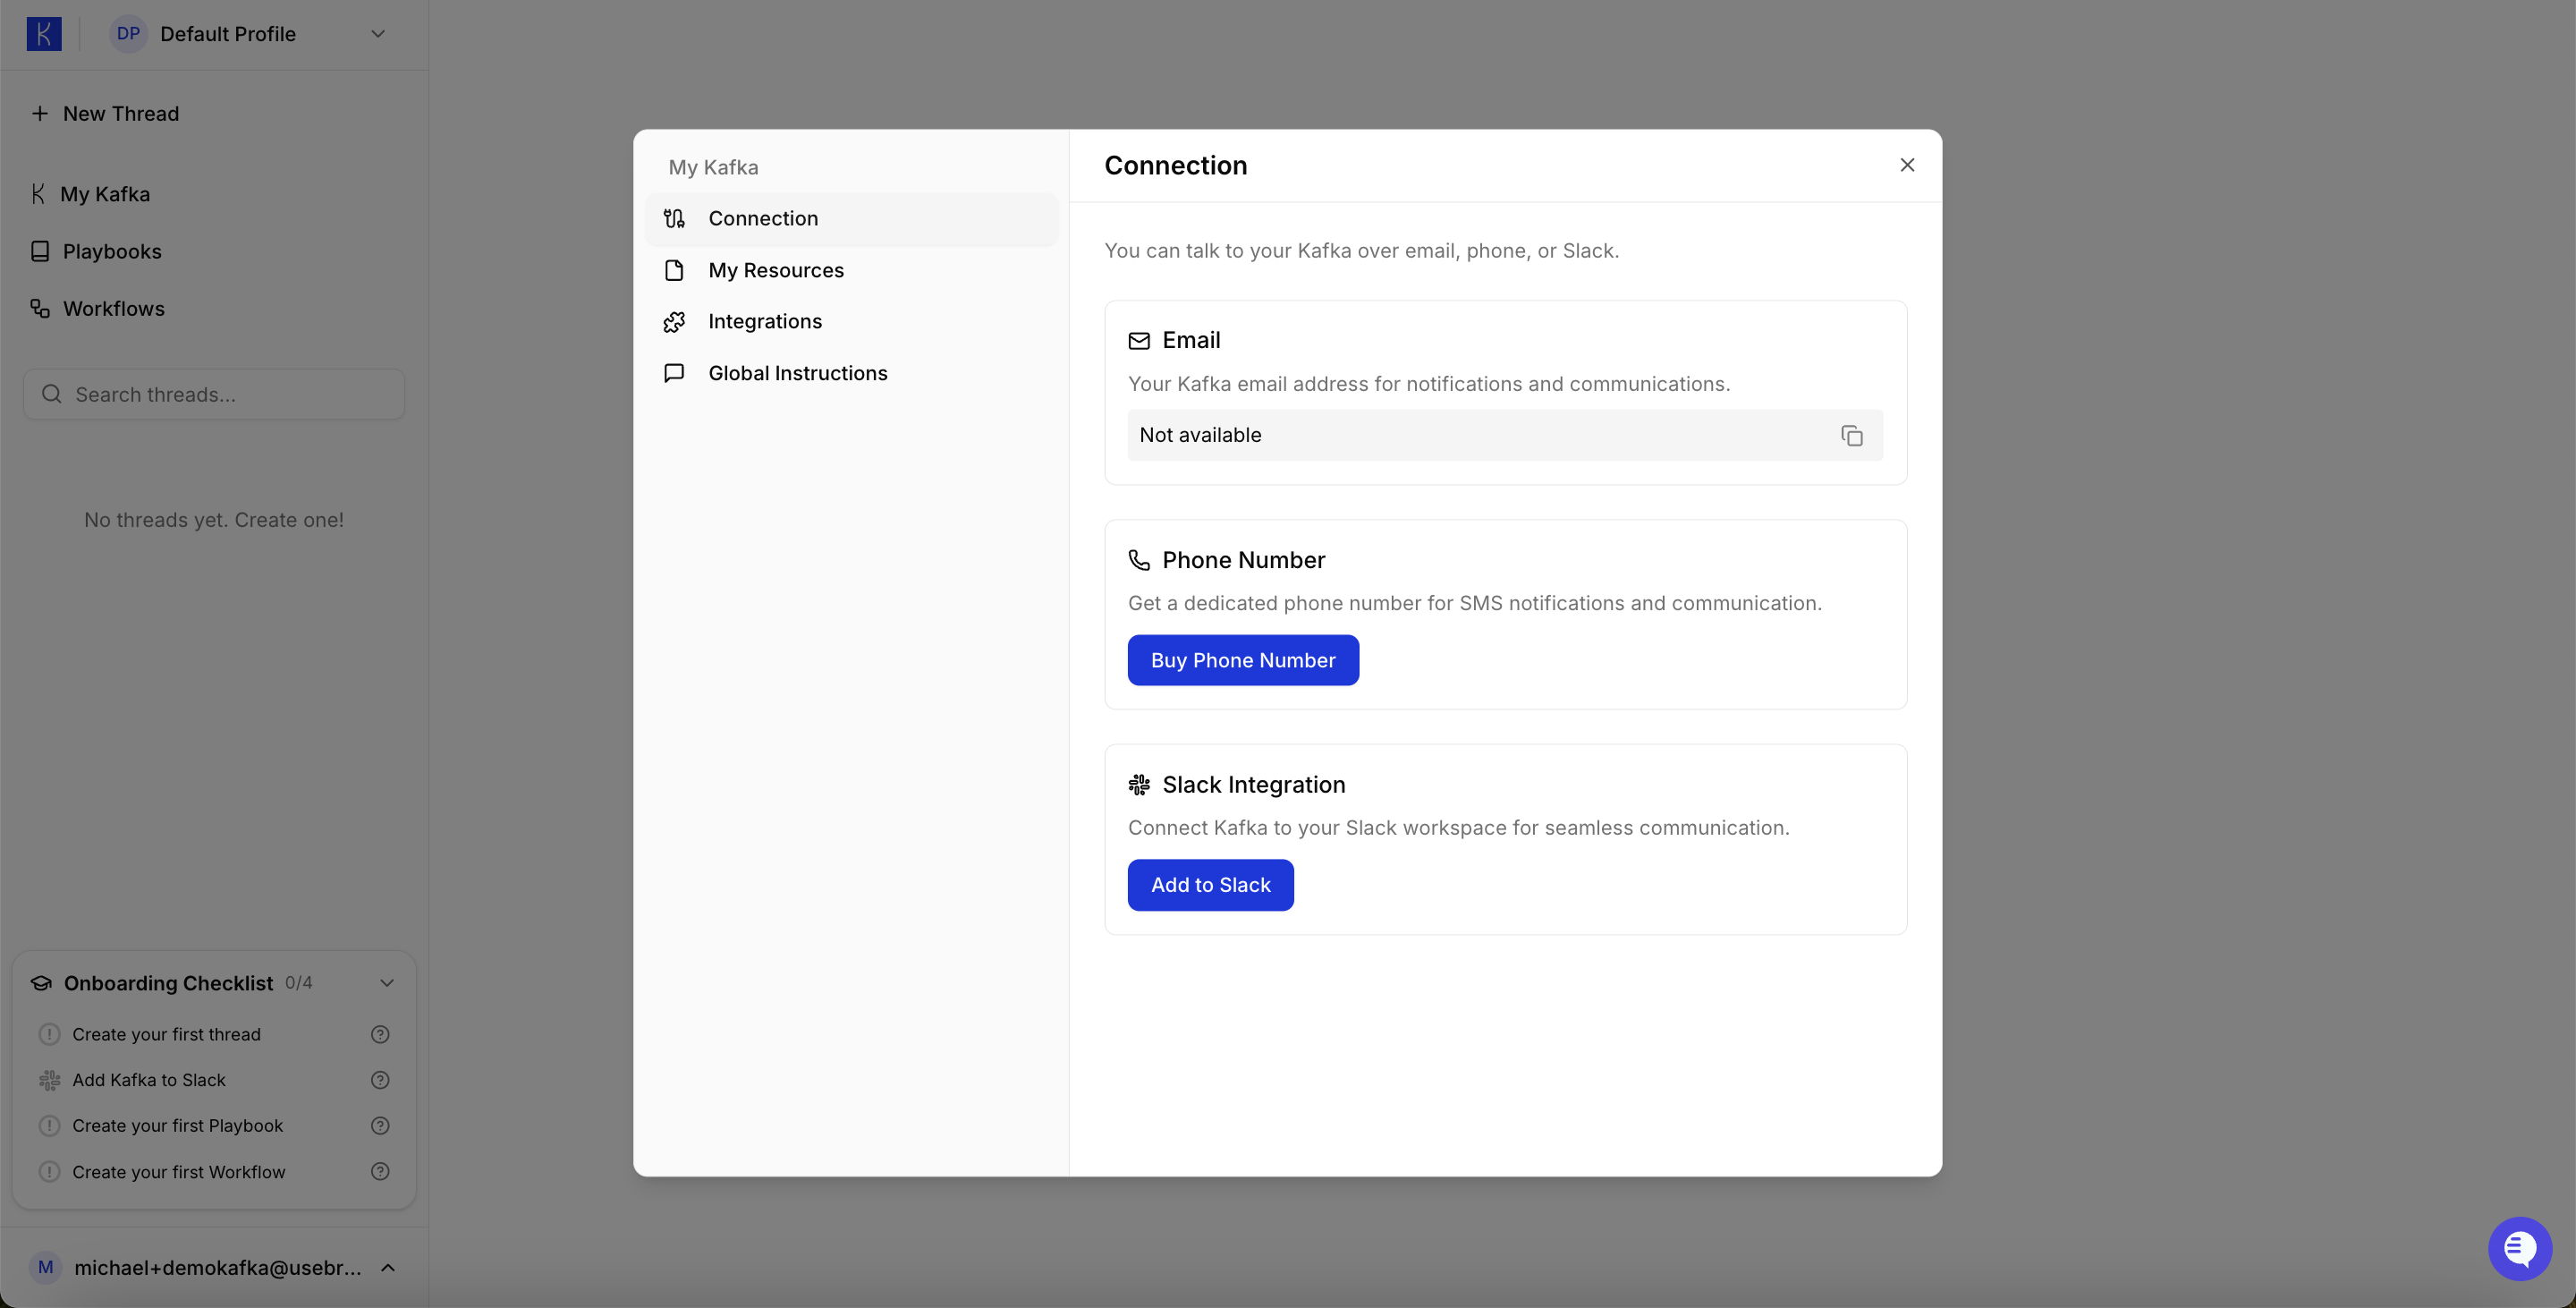
- Direct messaging with Kafka in Slack
- Channel mentions and interactions
- Real-time notifications and updates
- Team collaboration with your AI Employee
Step 6: Build Workflows
Workflows are automated sequences that Kafka runs autonomously when triggered.
- Time-based — daily at 9am, weekly on Monday, hourly between 9am-5pm
- App-based — new email in Gmail, new candidate in Greenhouse, Slack keyword mention
- Webhook-based — external API calls, form submissions, payment events
- Executive Assistant
- Recruiter
- Project Manager
Step 7: Create Playbooks
Playbooks are structured guides for repeated, semi-structured tasks — your AI Employee’s SOPs (standard operating procedures). Unlike Workflows which run fully autonomously, Playbooks are designed for tasks that need human collaboration or oversight.
- Executive Assistant
- Recruiter
- Project Manager
Step 8: Test and Refine
Your AI Employee improves through iteration. Start using it in real scenarios, observe performance, and refine:- Deploy in real use — Use Kafka for actual work, not just testing
- Observe performance — Notice where Kafka excels or struggles
- Refine instructions — Adjust Global Instructions, Workflows, and Playbooks
- Iterate weekly — Small, frequent improvements compound quickly
Get Support
We’re constantly adding new features and want to personally help our first customers.- Email: michael@usebrainbase.xyz for personal support
- In-app: Use the support widget in the app for quick help